这里不讨论 使用xib storyboard和代码编写UI的孰优孰劣。详见iOS User Interfaces: Storyboards vs. NIBs vs. Custom Code
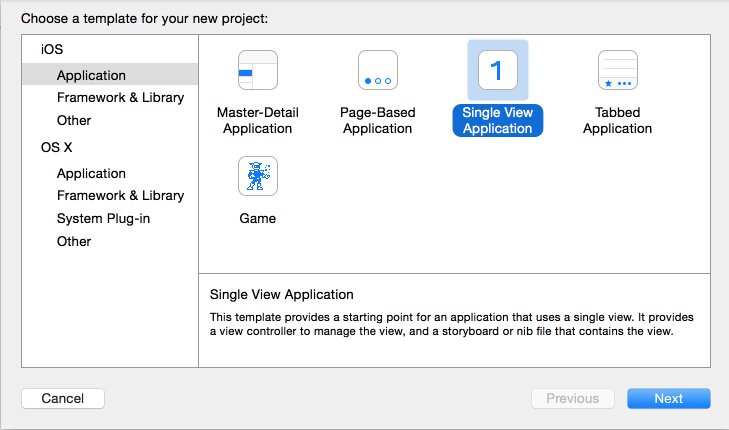
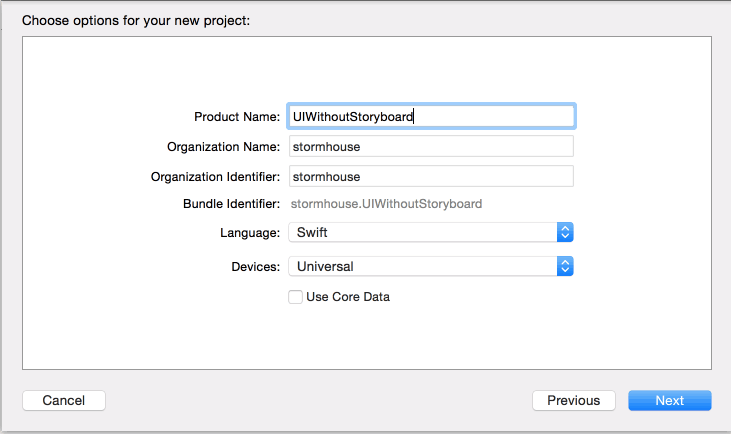
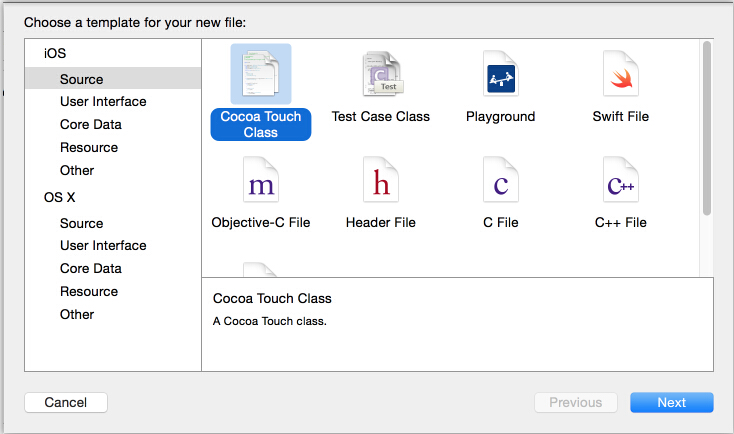
创建新项目
创建新项目,选择Single View Application为模板。
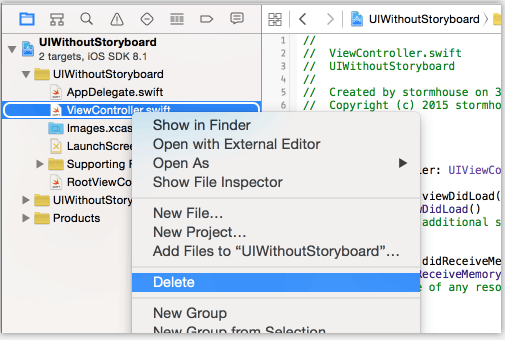
删除storyboard
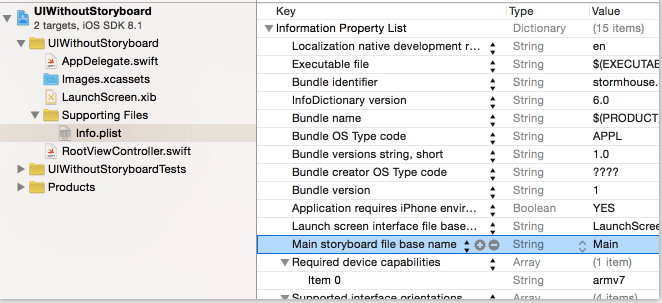
plist删除key main
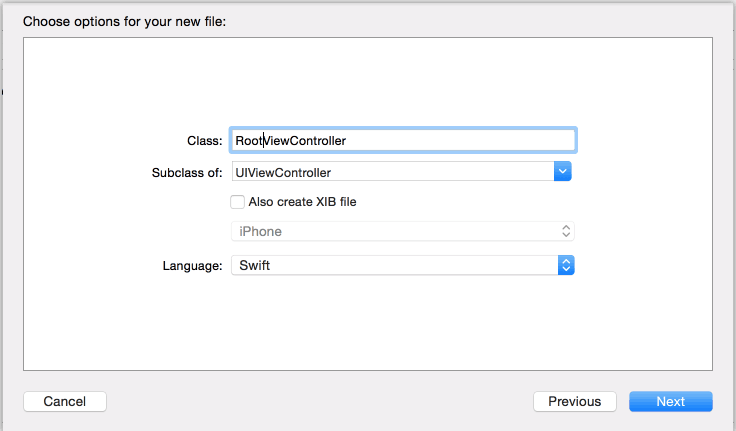
新建rootViewController类
代码:
import UIKit

class RootViewController: UIViewController {

    var button: UIButton!

    override func viewDidLoad() {
        super.viewDidLoad()

        button = UIButton.buttonWithType(.System) as? UIButton
        button.frame = CGRect(x: 110, y: 70, width: 100, height: 44)
        button.setTitle("Press Me", forState: .Normal)
        button.setTitle("I'm Pressed", forState: .Highlighted)
        button.addTarget(self, action: "buttonIsPressed:", forControlEvents: .TouchDown)
        button.addTarget(self, action: "buttonIsTapped:", forControlEvents: .TouchUpInside)

        self.view.addSubview(button)

        // Do any additional setup after loading the view.
    }

    func buttonIsPressed(sender: UIButton){ println("Button is pressed.")}

    func buttonIsTapped(sender: UIButton){ println("Button is tapped.")}

    override func didReceiveMemoryWarning() {
        super.didReceiveMemoryWarning()
        // Dispose of any resources that can be recreated.
    }

}
修改AppDelegate.swift
import UIKit

@UIApplicationMain
class AppDelegate: UIResponder, UIApplicationDelegate {

    var window: UIWindow?


    func application(application: UIApplication, didFinishLaunchingWithOptions launchOptions: [NSObject: AnyObject]?) -> Bool {
        // Override point for customization after application launch.

        self.window = UIWindow(frame: UIScreen.mainScreen().bounds)
        self.window!.backgroundColor = UIColor.darkGrayColor()
        self.window!.makeKeyAndVisible()

        let controller = RootViewController()
        self.window!.rootViewController = controller

        return true
    }
}
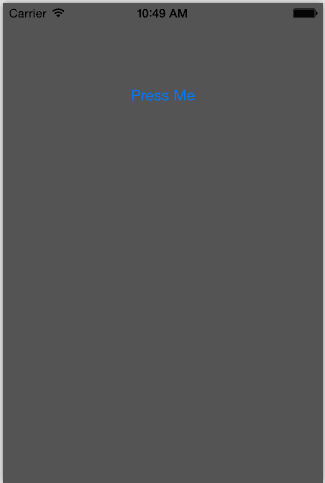
预览
Comments
comments powered by Disqus